It Was Supposed to Be So Easy…
If you’re running a blog on a static site generator stack, you may have looked into setting up email automation and a subscriber list. If you’re a devout follower of the lazy dev principles, you probably also thought about automating this then noticed all the RSS output controls that frameworks like Hugo provide out of the box.
Great – Now you just need to find an email service with a free tier and RSS integration – Easy, right?
I scoured the web for something simple that would work here and found VERY FEW OPTIONS. Most of these services are aimed at marketers more than lazy devs. Even the services that do provide RSS automations only seem to offer them through 3rd parties. On top of that, none of the free tiers seemed to support the RSS automations where they are present.
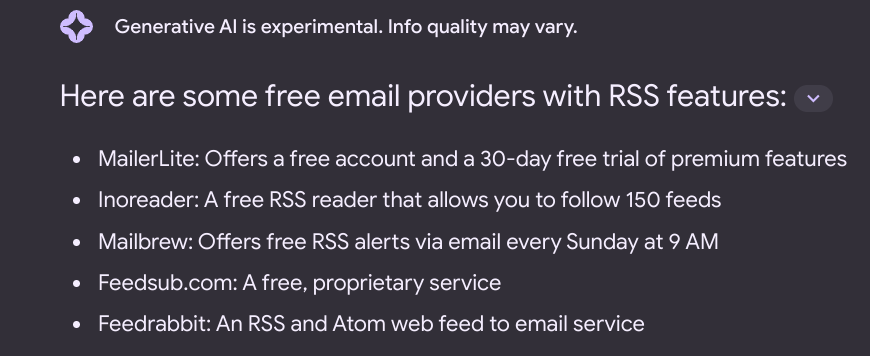
Even Bard doesn’t know of a truly free service with any amount of scale.
If getting an email server setup and maintained wasn’t such a massive pain, I would have thrown up my hands and built something myself here. Thankfully, I’ve lived too long at this point to even consider willfully trying to build an email service. Surely that would hurt orders of magnitude more than it would help.
Luckily, there was a service that fit that bill using a 3rd party integration on their free plan: Brevo. If you know of any services that I missed in my search, please share in the comments below.
The steps below will work for Hugo used with the Papermod theme, but setup should be fairly similar on other themes.
Turning on RSS in Hugo
Turning on RSS in Hugo is as simple as adding a line to your config.yaml file.
Just add RSS to the output>home list:
outputs:
  home:
  - html
  - rss
More information available in the docs here.
Setting up Brevo
I might have heard the name Send in Blue in passing, but I wasn’t really familiar with this service and only found it after too many Google searches and ruling out the better known players in the space.
Sign up for Brevo with your email and skip through the onboarding process.
Connect your domain with Brevo
After you setup your account and onboard, make sure to navigate to the Senders, Domains, and Dedicated IPs screen to get the DNS TXT records you’ll need to add to enable sending from your domain.
I was not prompted to do this during onboarding (probably because I skipped over it) and was confused why my automation was not firing, which will likely happen to you if you dont' follow this step
Creating the Widget
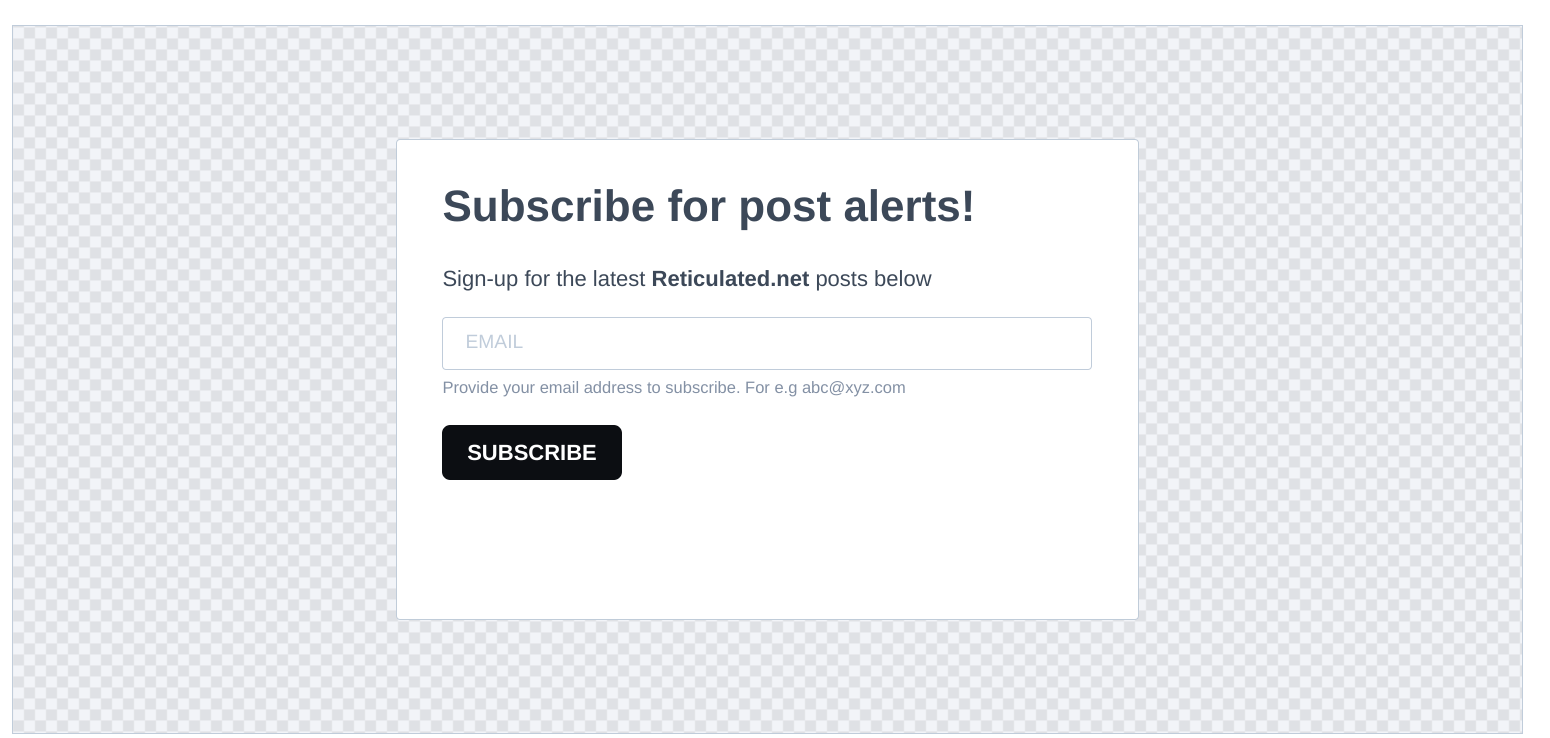
Before we start sending emails, we need a way to collect users' email addresses. We can just use Brevo’s Forms for this.
Go to Contacts>Forms on the left side and create a new form. Give the form a name and style it however you want.
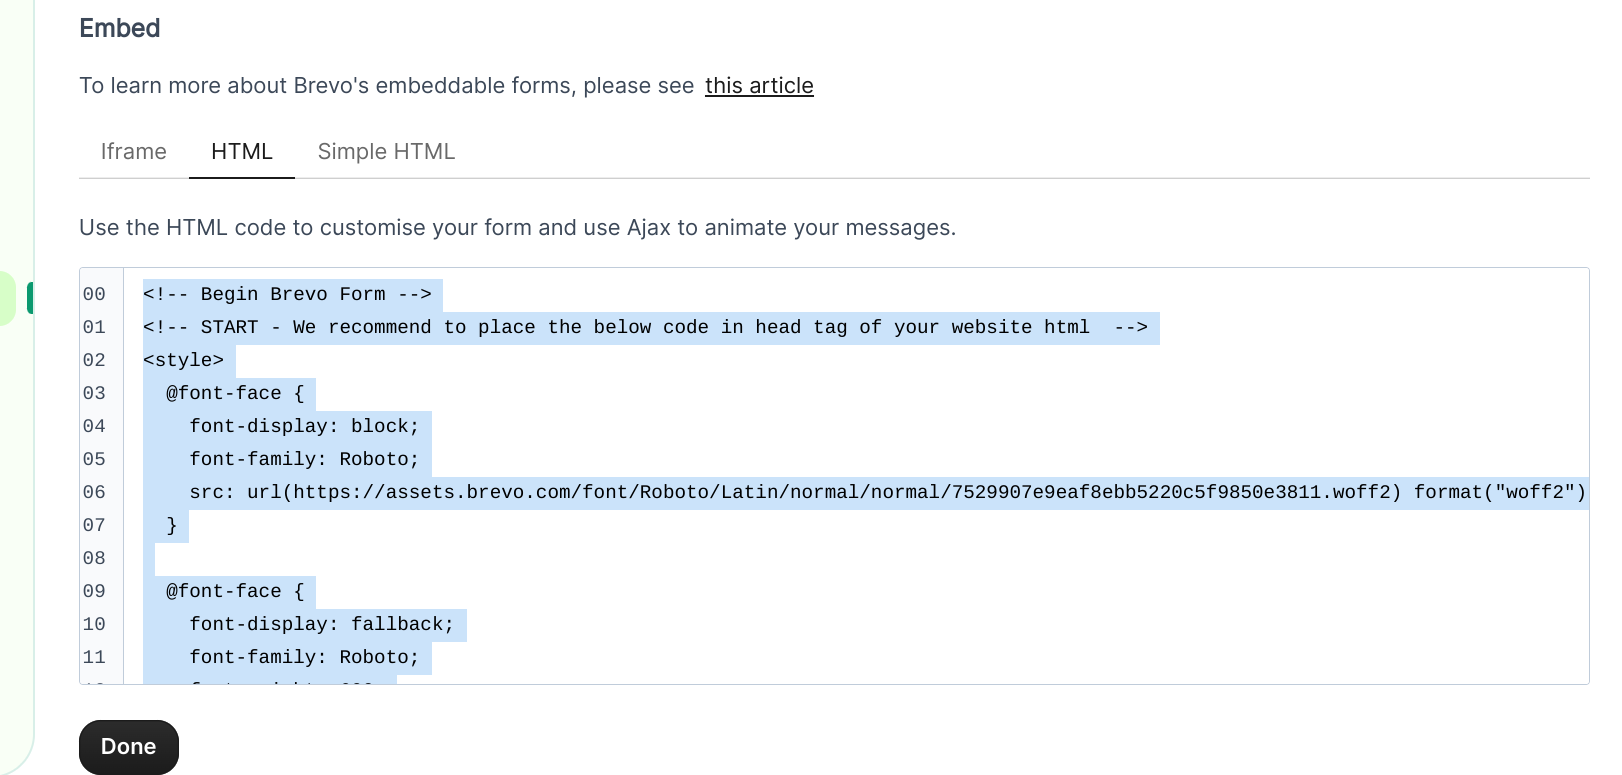
Complete the rest of the form setup steps until you get to the Share step. Copy the HTML code from the Embed section of the page.
Update Hugo
Now we need to add our form to Hugo. We’ll create a partial and a shortcode.
That way, we can automatically include a newsletter sign-up form at the bottom of our default post template, but also have a shortcode to include it at a specific point in a post, like here.
This is easy to do. Create 2 files layouts/partials/newsletter.html and layouts/shortcodes/newsletter.html
You may need to create the folders above in your hugo site if you don’t have any custom shortcodes or partials. Now we’ll paste the code from earlier in the following files:
We’ll copy the CSS code (the first part) into
partials/extend_head.html, which you may need to create if it doesn’t exist.The 2nd part with HTML code will go in our
newsletter.htmlfiles that we just created.The last part with JS code we’ll place in
partials/extend_footer.html
Update the Post Template
Create a new file layouts/_default/single.html and copy the contents of themes/Papermod/layouts/_default/single.html into it. This will give us a copy we can override without breaking updates to our theme.
Add a new conditional for our newsletter above the comments.html partial at the bottom of laouts/_default/single.html as shown below:
start of file...
</footer>

{{- if (.Param "newsletter") }}
  {{- partial "newsletter.html" . -}}
{{- end }}

{{- if (.Param "comments") }}
  {{- partial "comments.html" . }}
{{- end }}

</article>
{{- end }}
Now, we include a {{< newsletter >}} shortcode somewhere in a post to render our form. We also can set the parameter newsletter in our frontmatter to control if the form renders again at the bottom of the post.
If you want to include the newsletter at the bottom of a post by default, you can add newsletter: true to your config.yaml file.
Setting up the RSS Campaign
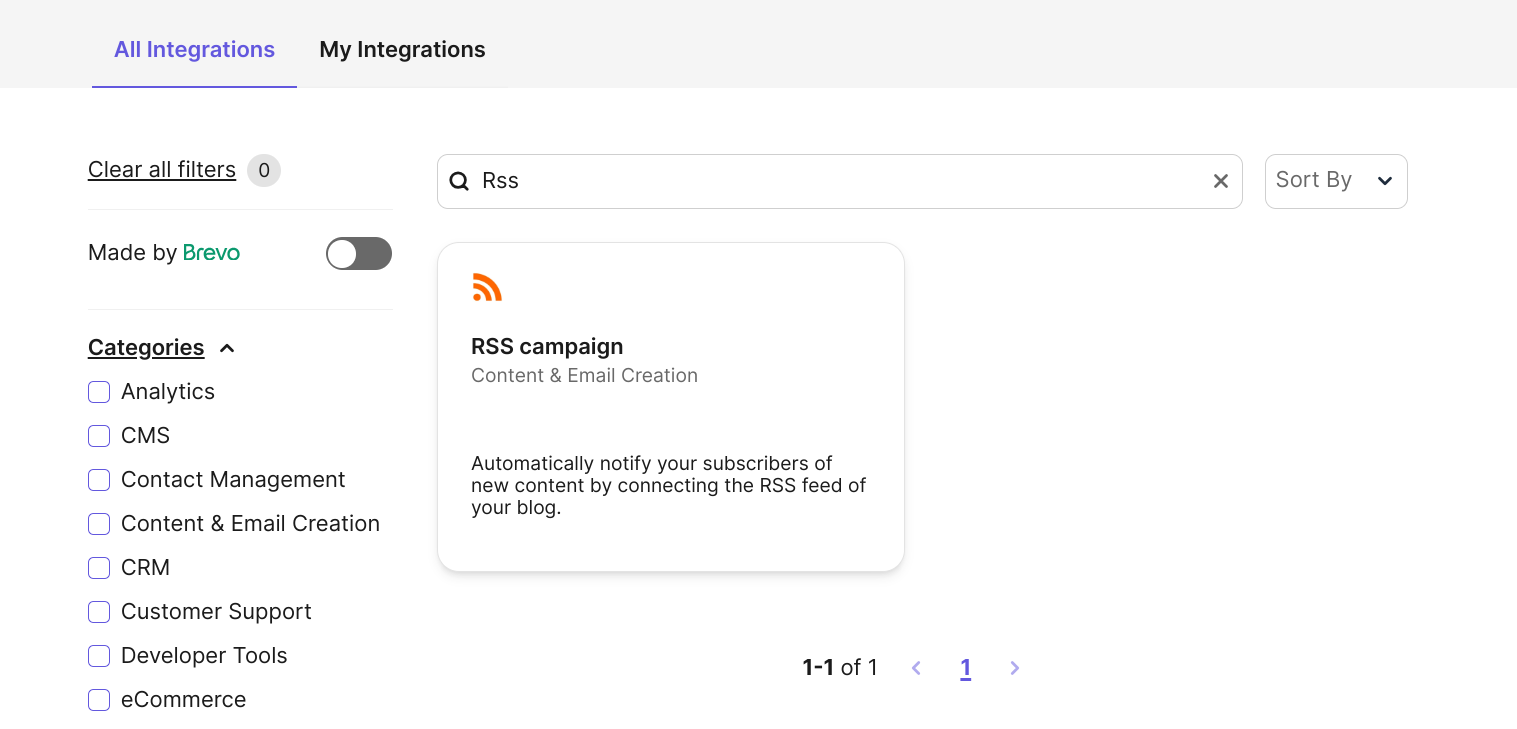
OK – we’re ready to setup our RSS campaign in Brevo. Click your account name in the top right of the screen and go to Plugins & Integrations.

Search for RSS and click to start the setup. Enter your RSS feed URL which should be https://domain.com/index.xml
You can setup your own email template using the base RSS template Brevo provides. It works well to load the posts, but you’ll probably want to add your logo, colors, etc.
Connect your Newsletter list we created before to the campaign and schedule it for whatever time you’d like your emails to go out.

Final Thoughts
Now, we can collect emails and automatically send out weekly or monthly emails to subscribers.
This will hopefully become a series of posts about enriching and adding features to a static site blog. We’ll take a look at analytics through goatcounter, setting up comments with Cactus Chat, setting up Google Ads, and more.
Thanks for reading!