I first started semi-seriously sim racing a few years ago after buying a cheap old Fanatec wheel/pedal/h-shifter combo on Craigslist for $60. I was looking for something new to get into, and had a previous obsession with the Gran Turismo games on PlayStation to guide me past the first hurdles.
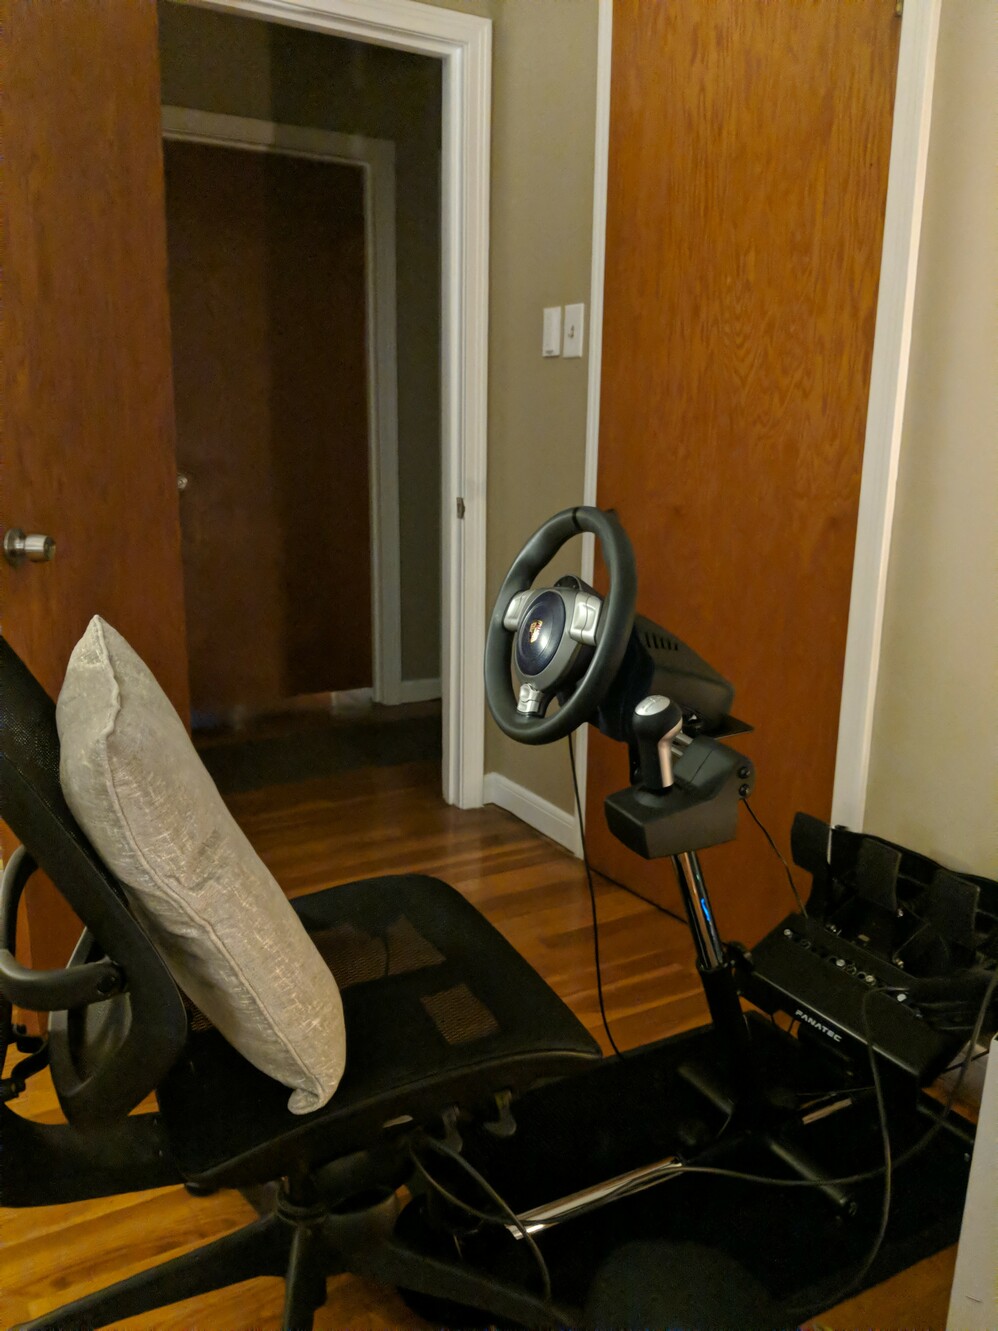
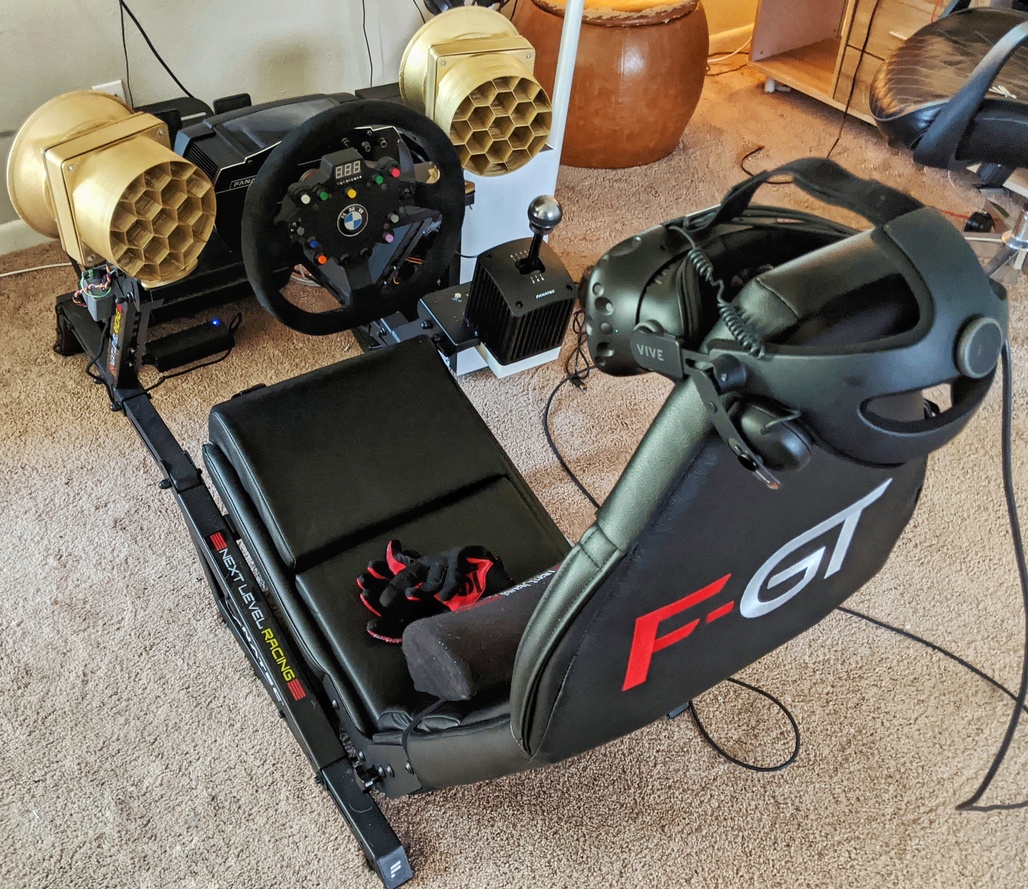
Fast forward to today and I have heavily invested in my setup, with the main goal being realism and immersion. As soon as I bit the bullet and bought an HTC Vive years ago, I have never gone back to sim-racing on a screen. In my opinion, that is the single biggest immersion boost you can find. I desperately want to upgrade my old headset to something with a better resolution, and would not recommend starting out with the original Vive today.
After getting a proper rig set up, I was looking for the next big immersion boost without taking out a 2nd mortgage setting up a motion platform. I decided on transducers to simulate the vibrations in the frame and general body feel improvement and a wind simulator. I have yet to start the transducers but will share that once it’s done.
Why Wind?
Lots of people ask why you would want a Wind Simulator. The more you race in VR and the more you race open cockpit cars, the more use and benefit you will find out of it. I also find it can get pretty hot in the summer here and desperately needed some relief on longer races. Also, when you’re not in an open cockpit car, and thus don’t want the fan speed to scale with the car speed, you can still use this setup as air conditioning.
When I first set these up I thought the cooling factor would be far above the immersion boost, but when I first used them I had a smile on my face as big as the first time I raced in VR. These are AWESOME and I highly recommend them.
Tools Used
- Arduino Uno knockoff
- VNH2SP30 Motor Shield
- 2 big ass 140mm fans
- 10A Power Supply
- Screw terminals
- Male-Female jacks
- SimHub Software
- Soldering iron
- 3D printer
- STL files for fans
- STL files for enclosure
- M4 bolts for mounting
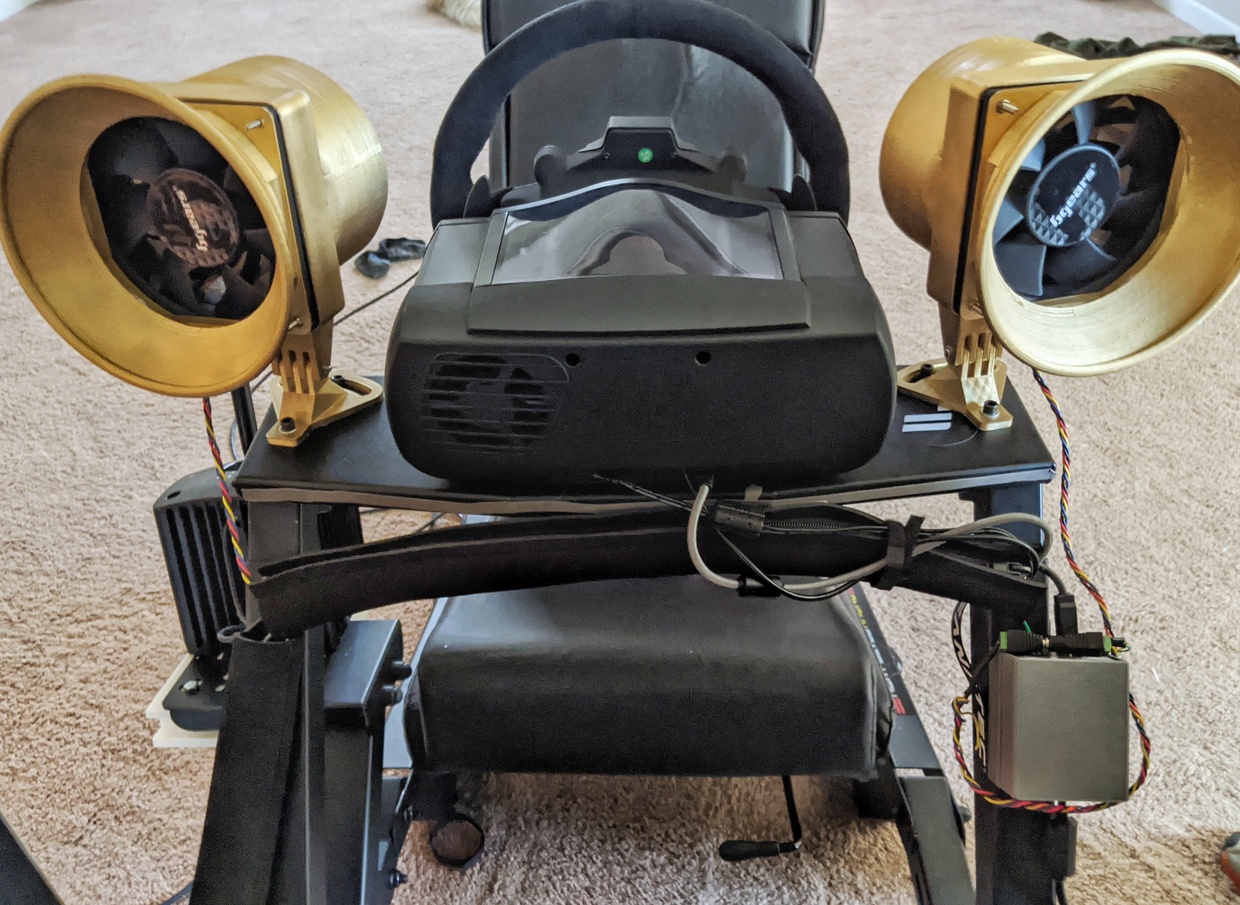
The Print
The print is pretty straightforward. You may need to adjust some things based on your rig dimensions. I started with the designs on Thingiverse linked above and modified them quite a bit for my own uses. Feel free to do whatever post-processing you normally do.
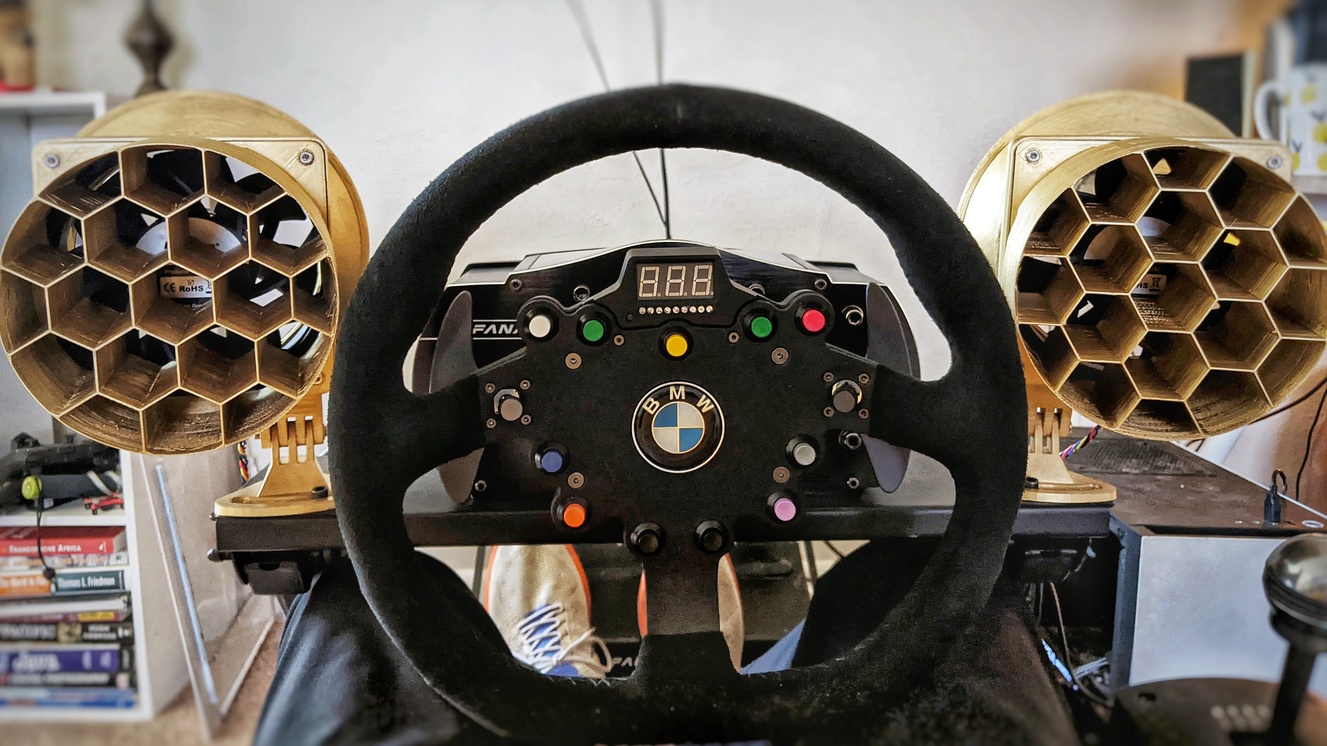
If I print them again, I will do a good sanding before painting, but I’m happy with how they turned out. I printed using Duramic white PLA+, sprayed with white primer, and then finished with a couple coats of gold spray paint.
The enclosure files linked above are not perfect, but they work for the build. I will update them when they’re improved.
The Electronics
This was my first build with an Arduino and I was really surprised with how straightforward everything was, especially the integration with SimHub. You’ll need to solder the motor driver board on top of the Arduino Uno along with the screw terminals.
This board is a copy of a discontinued ‘Monster Moto Board’, which you can find a lot of information about online. Take a look here to get started.
Once you have the boards put together, you need to either directly solder the fans and power cable onto the board, or solder the screw terminals into the board and screw the components in.
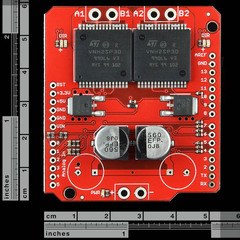
I personally chose to use screw terminals for all 3 locations and connect those to the plugs linked above, so everything can easily unplug without a huge fuss.
WARNING
The first motor stepper I ordered was faulty and would not drive both fans at 100%. If you’re having trouble and are sure you have a sufficient power supply and have soldered everything correctly, you may want to order a new motor stepper board. I managed to get a working board on my second try, but I’ve heard from others these are faulty so often they order 5 at a time. Luckily, they are pretty cheap.
The Software
SimHub is relatively easy to use since it contains support for the Monster Moto Board, which we have a clone of. In Sim Hub, go to the Arduino screen and open the Arduino setup tool. Just make sure to select Arduino Uno and the Monster Moto Board and everything else should work out of the box.
Flash the Arduino and go to the ShakeIt Motors menu and the Motors Output sub menu. Connect your fans to the tools as shown below. You can click ‘Test now’ at the top to make sure everything is working correctly and figure out which channel is left/right.
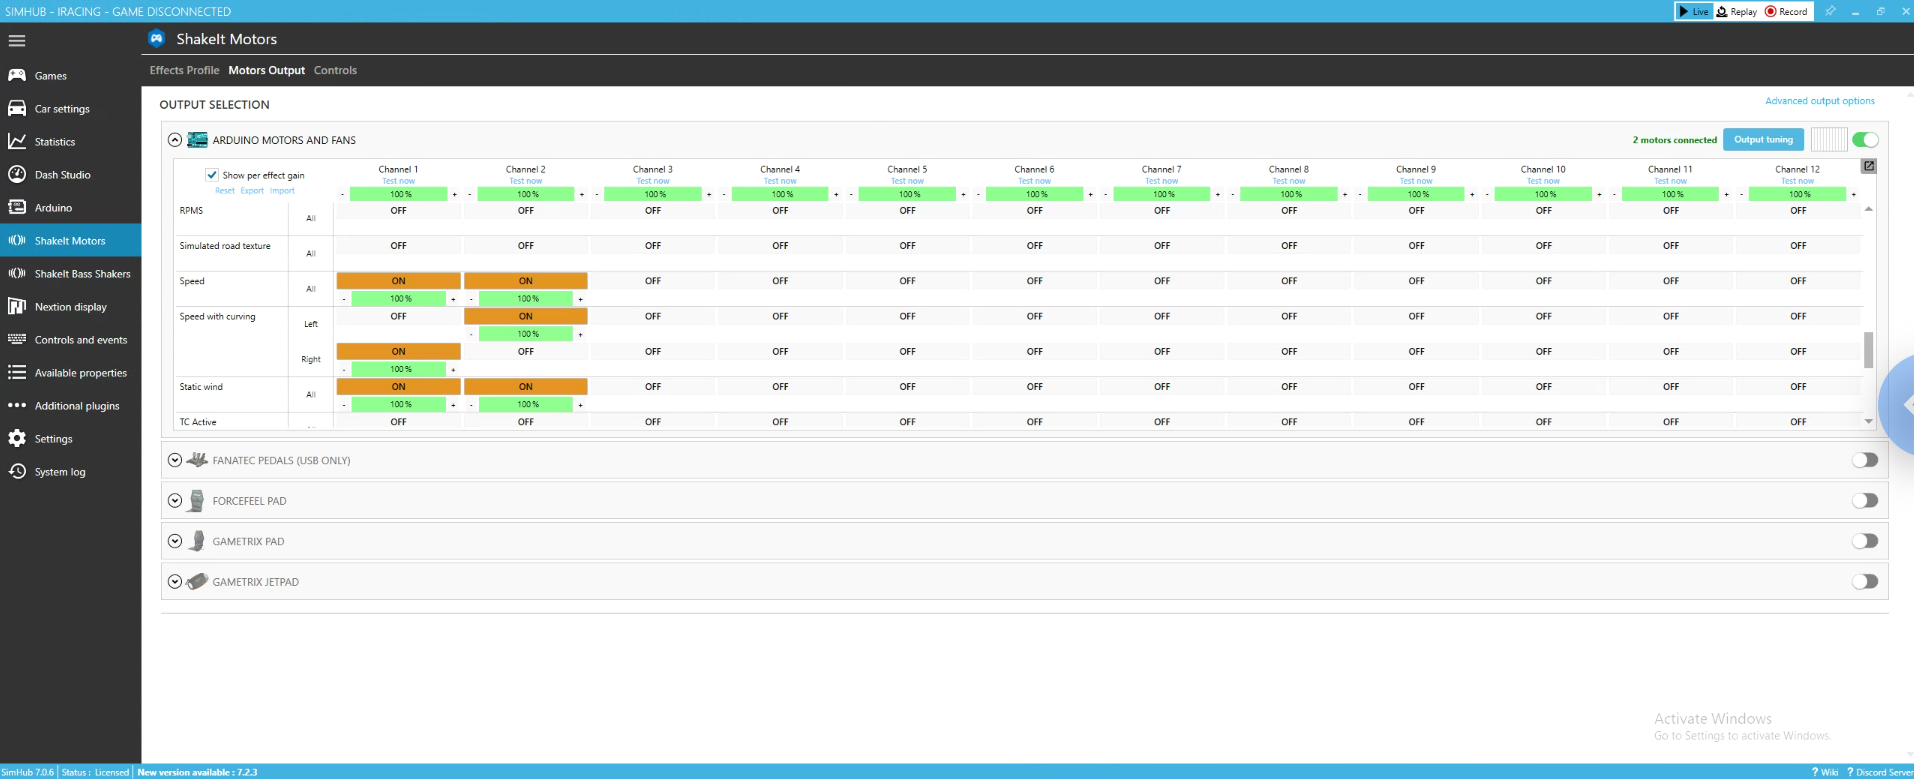
Now head back to the Effects Profile section and turn on Speed and Speed with Curving. The default settings work pretty nicely, but you may want to adjust.
I also enable Static Wind and set its power to 17%, which causes light gusts even when not moving.
When I switch to a non open cockpit car, I disable the Speed options and turn Static Wind up to some higher amount.
I also recommend using a program called IRacingManager, if you use IRacing, and hook SimHub into it to start when IRacing starts.
Final Thoughts
That’s about it. All that’s left is to drill and bolt down the assembled fans and plug everything in. Thanks for reading and feel free to leave a question or comment in the comments!